Sometimes tables are needed to display tabular data within the content area of a Drupal page. Here’s how to create accessible tables within the Drupal editor (TinyMCE).
Select the Insert/Edit Table button from the editor menu.
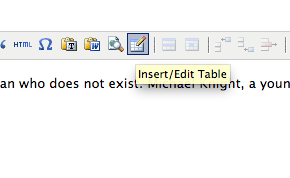
Insert/Edit Table Button
The Insert/Edit Table dialog box appears with2 tabs: General and Advanced.
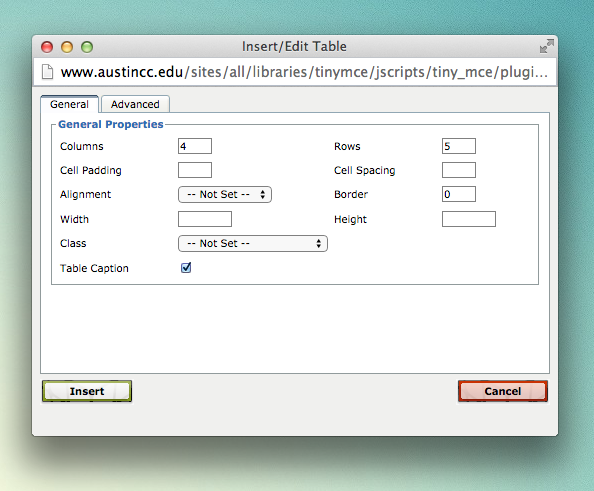
Insert/Edit Table Options General Tab
Specify the number of rows and columns that your table requires. You can disregard Cell Padding, Cell Spacing, Border, Width, and Height options. The Drupal theme takes care of these automatically.
Check the Table Caption checkbox.
The Advanced tab has other parameters for your table. Again these are optional and not required.
Select Insert and the table will appear within the editor.
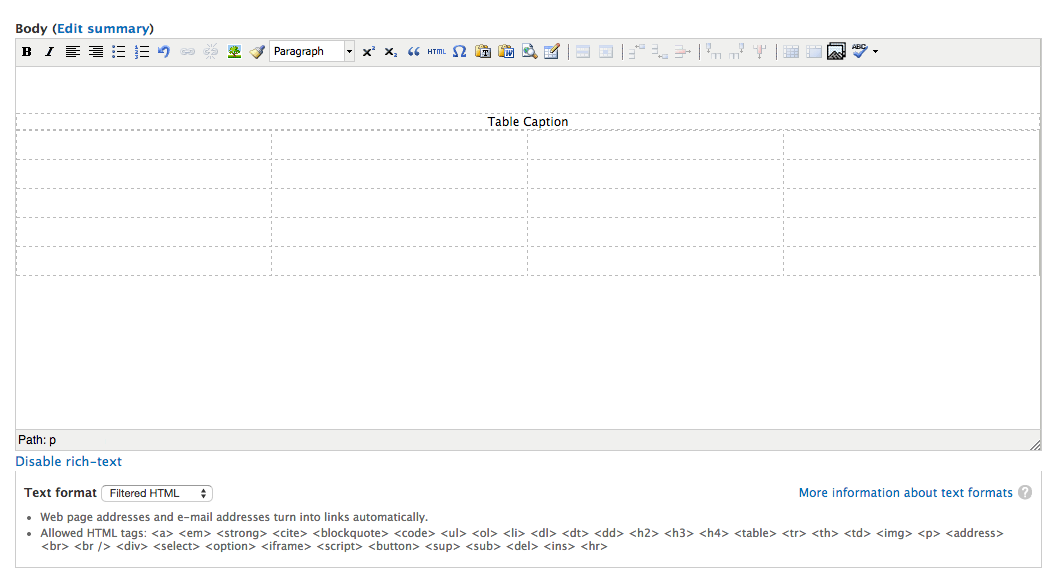
Table view within Drupal TinyMCE Editor
Enter your table data. Edit the Table Caption. Note: It is highly advisable that your table have header rows and/or columns. This aids in accessibility and usability.
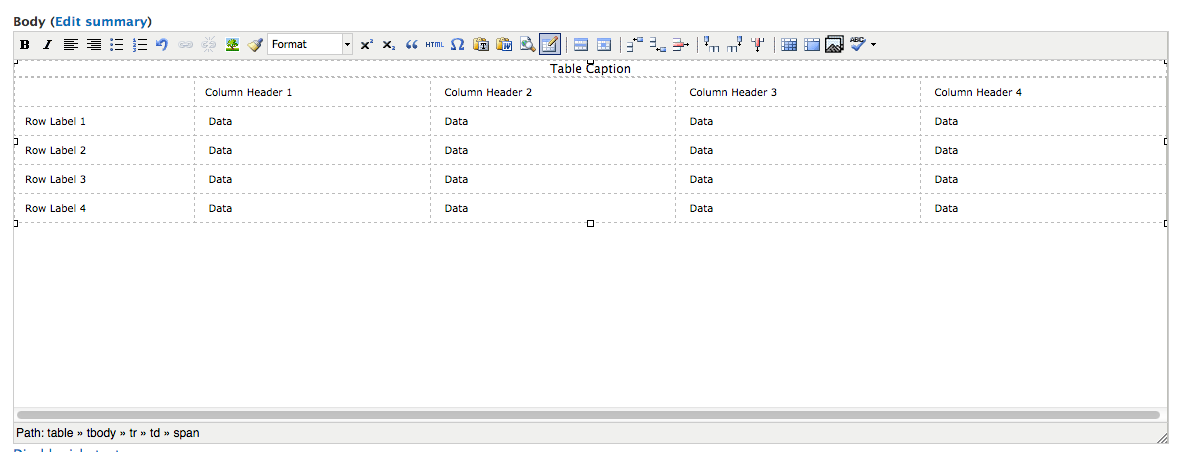
Table with data view within Drupal TinyMCE editor
Formatting Table Headers and Row Labels
Place your cursor in the first header cell of your table, then select the Table Cell Properties button in the editor.
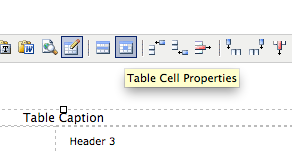
Table Cell Properties button within TinyMCE editor
The Table Cell Properties window will appear. Specify the type of cell that your cursor is in. In this case the Cell Type is Header and the Scope of the Header is the Column.
Pick Update All Cells in Row from the drop down menu.
Select Update.
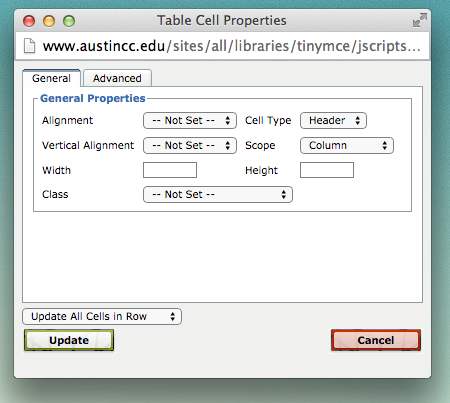
Table Cell Properties General Tab
Repeat this process for the Row Labels.
Place your cursor in the first Row label cell of your table, then select the Table Cell Properties button in the editor.
The Cell Type is still Header and the Scope of the Header is the Row.
Select Update.
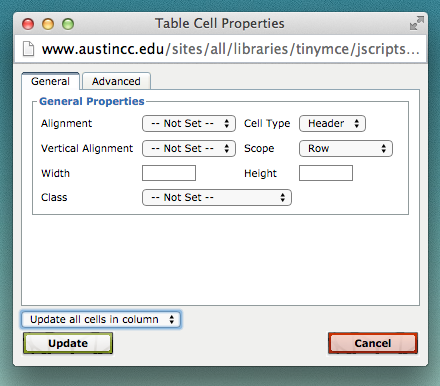
Table Cell Properties General Tab
Here is how a table with rows and headers appears within the editor. Note: Not all tables have both Headers and Row Labels, use Table Cell Properties button appropriately.
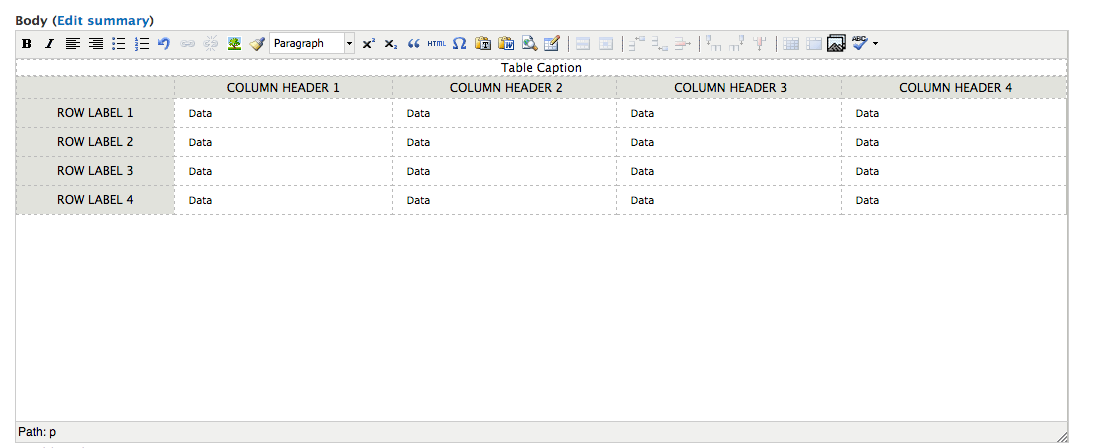
Table with Headers and Row Labels applied
Once your page is saved the table will appear as so on the webpage. Note: Table styles are dictated by the theme style sheet and cannot be changed. Mousing over table cells highlights that particular row. This functionality is automatically applied, no extra steps are needed to achieve this.
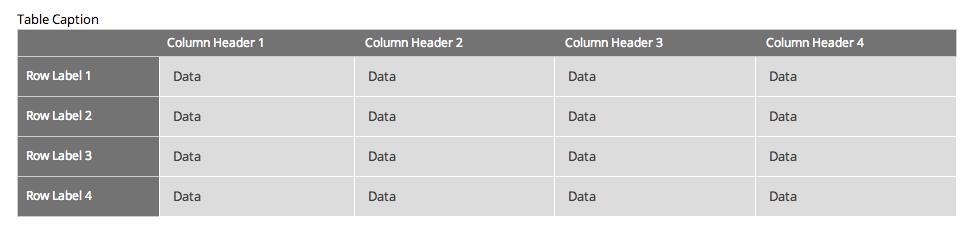
Table view on live webpage
Extra
There are other table editing buttons available to users to edit existing tables and create new ones. These include:
- Table Row Properties (Same functionality as Table Cell Properties)
- Insert Row Before
- Insert Row After
- Delete Row
- Insert Column Before
- Insert Column After
- Split Merged Table Cells
- Merge Table Cells
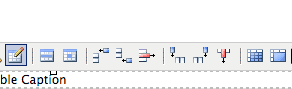
Table editing options within the Drupal TinyMCE editor
Experiment and make your tables great with these tools.
Tags: Drupal
Back to Top